The setup wizard opens after the first activation and exists for one reason: most of the data in a passport is the same across a catalogue, and nobody should type it once per product. It captures the shared values, then creates every passport pre-filled with them. Four steps, each of which can be skipped, and the whole thing can be run again from Passports, then Setup wizard.
Your first passport walks through the wizard on a demo store. This page is the reference: what each step does, what it writes, and the details the walkthrough leaves out.
Step 1: how do you want to fill your passports?
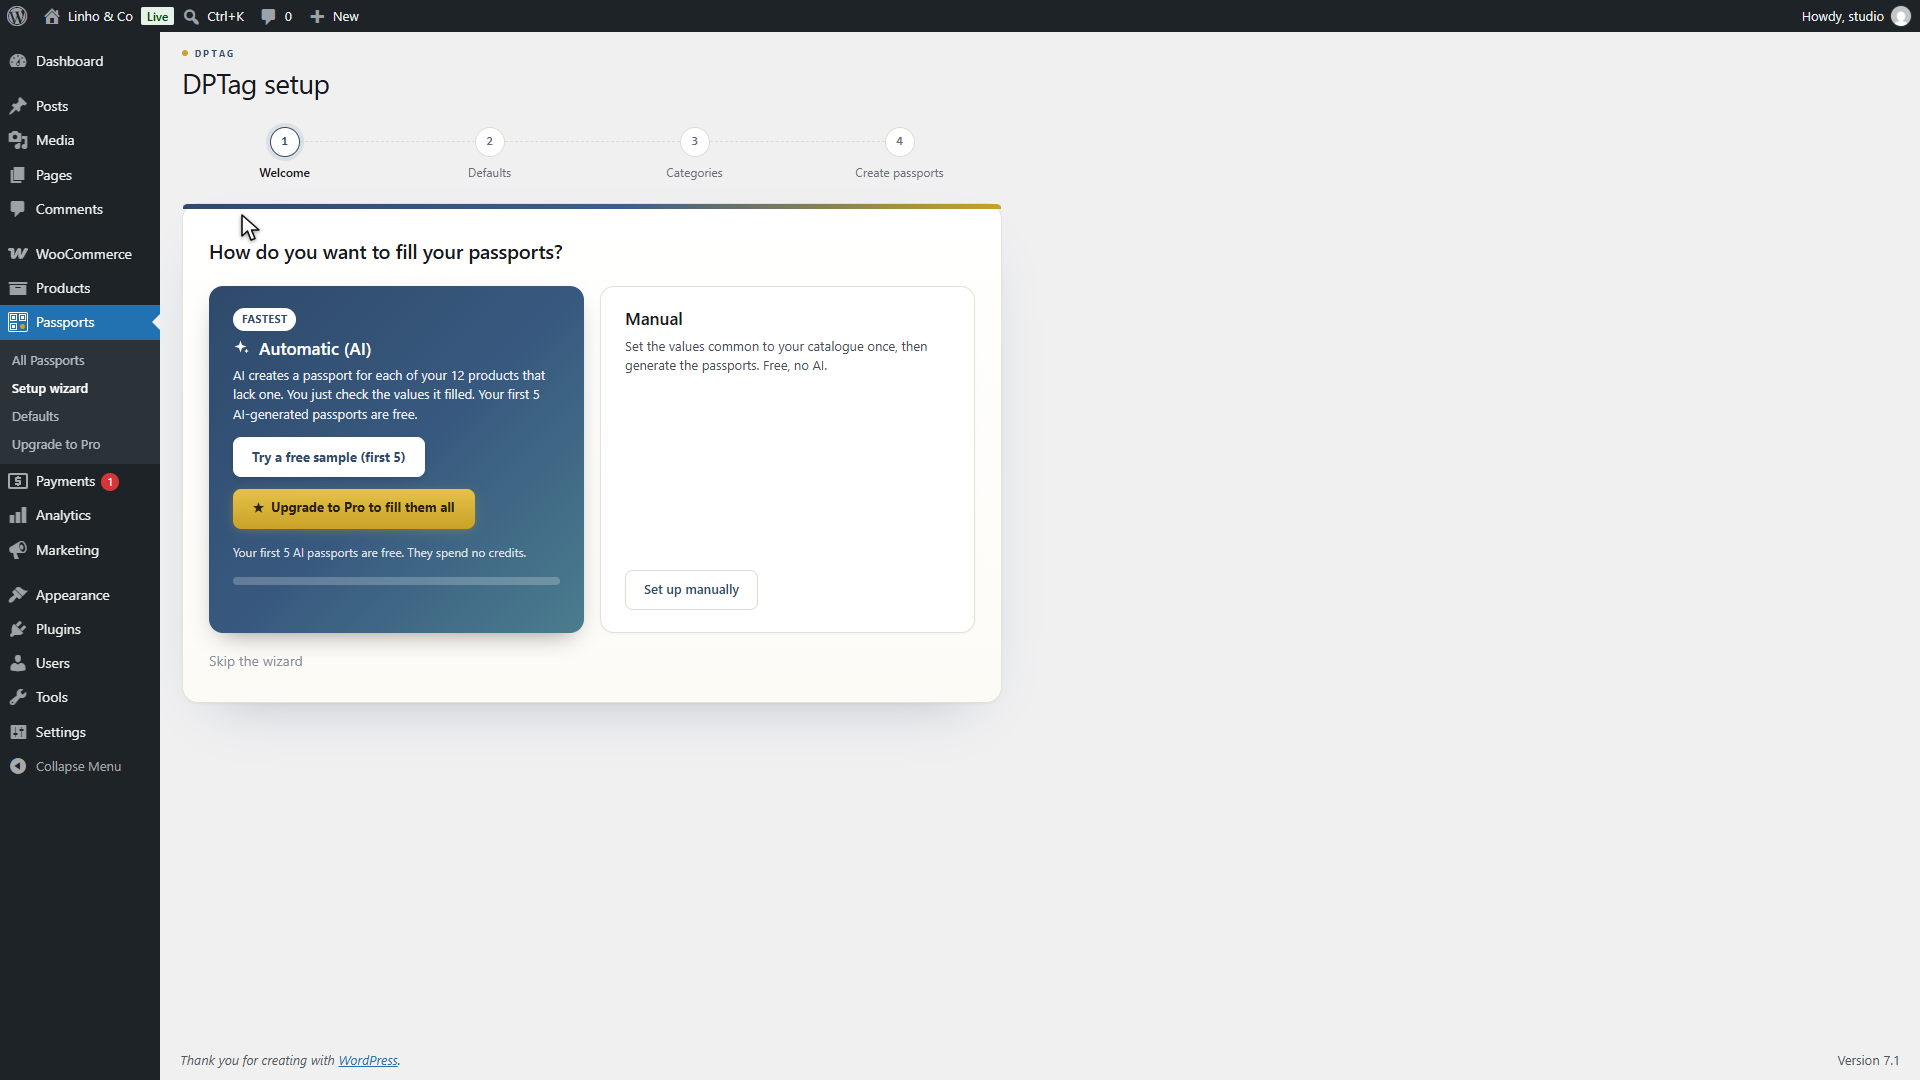
Two cards, two ways of filling.
Automatic (AI) creates a passport for each product that lacks one and fills its fields by reading the product's text, categories and attributes. Your first five AI passports are free and spend no credits; beyond that, each one costs one AI credit, bought on dptag.com without any subscription. The values it proposes are marked as suggestions for you to review. This path is described on its own page.
Manual is the free path with no AI: you set the shared values yourself in the next two steps, and the last step creates the passports from them. Click Set up manually.
The link at the bottom, Skip the wizard, closes it for good: no passport is created, and the plugin no longer suggests the wizard. You keep the menu entry to come back to it.
On steps 2 and 3, a button at the top of the page, Have AI create and fill your passports, leads back to the automatic path for anyone who changes their mind in front of a form.
Step 2: store defaults
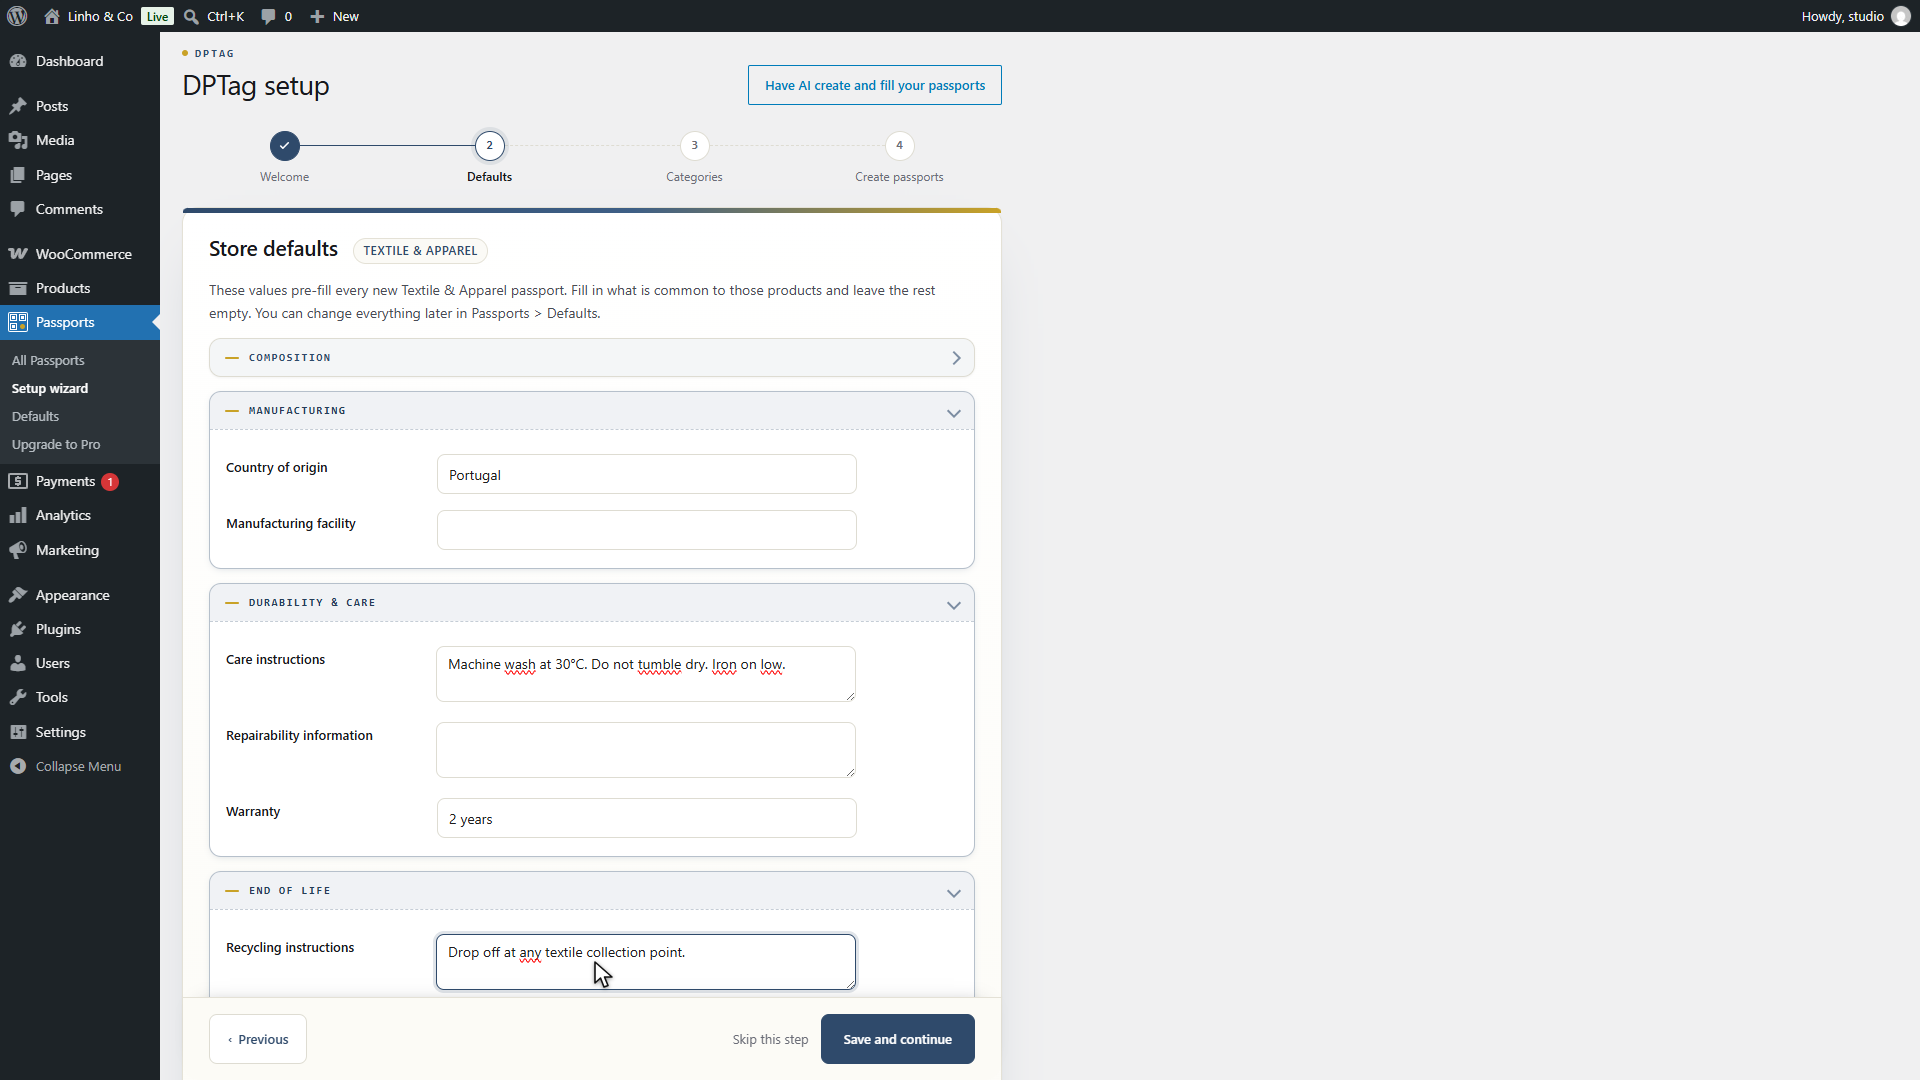
The values entered here pre-fill every new passport of one sector. The badge next to the title says which: the wizard detects the dominant sector of your catalogue from the categories, the attributes and the text of a sample of products, and shows that sector's template. If your catalogue also holds products of another sector, a hint says so; their defaults are set later under Passports, then Defaults, which has one tab per sector.
The fields are grouped as on the passport form: composition, manufacturing, durability and care, end of life, environment and certifications. Fill in what holds for all the products of that sector and leave the rest empty. An empty default has no effect at all. Fields that are by nature unique to one product, the batch number for instance, are not offered here.
Save and continue writes the store defaults, the same values as the Defaults screen. Skip this step moves on without writing anything.
Step 3: composition per category
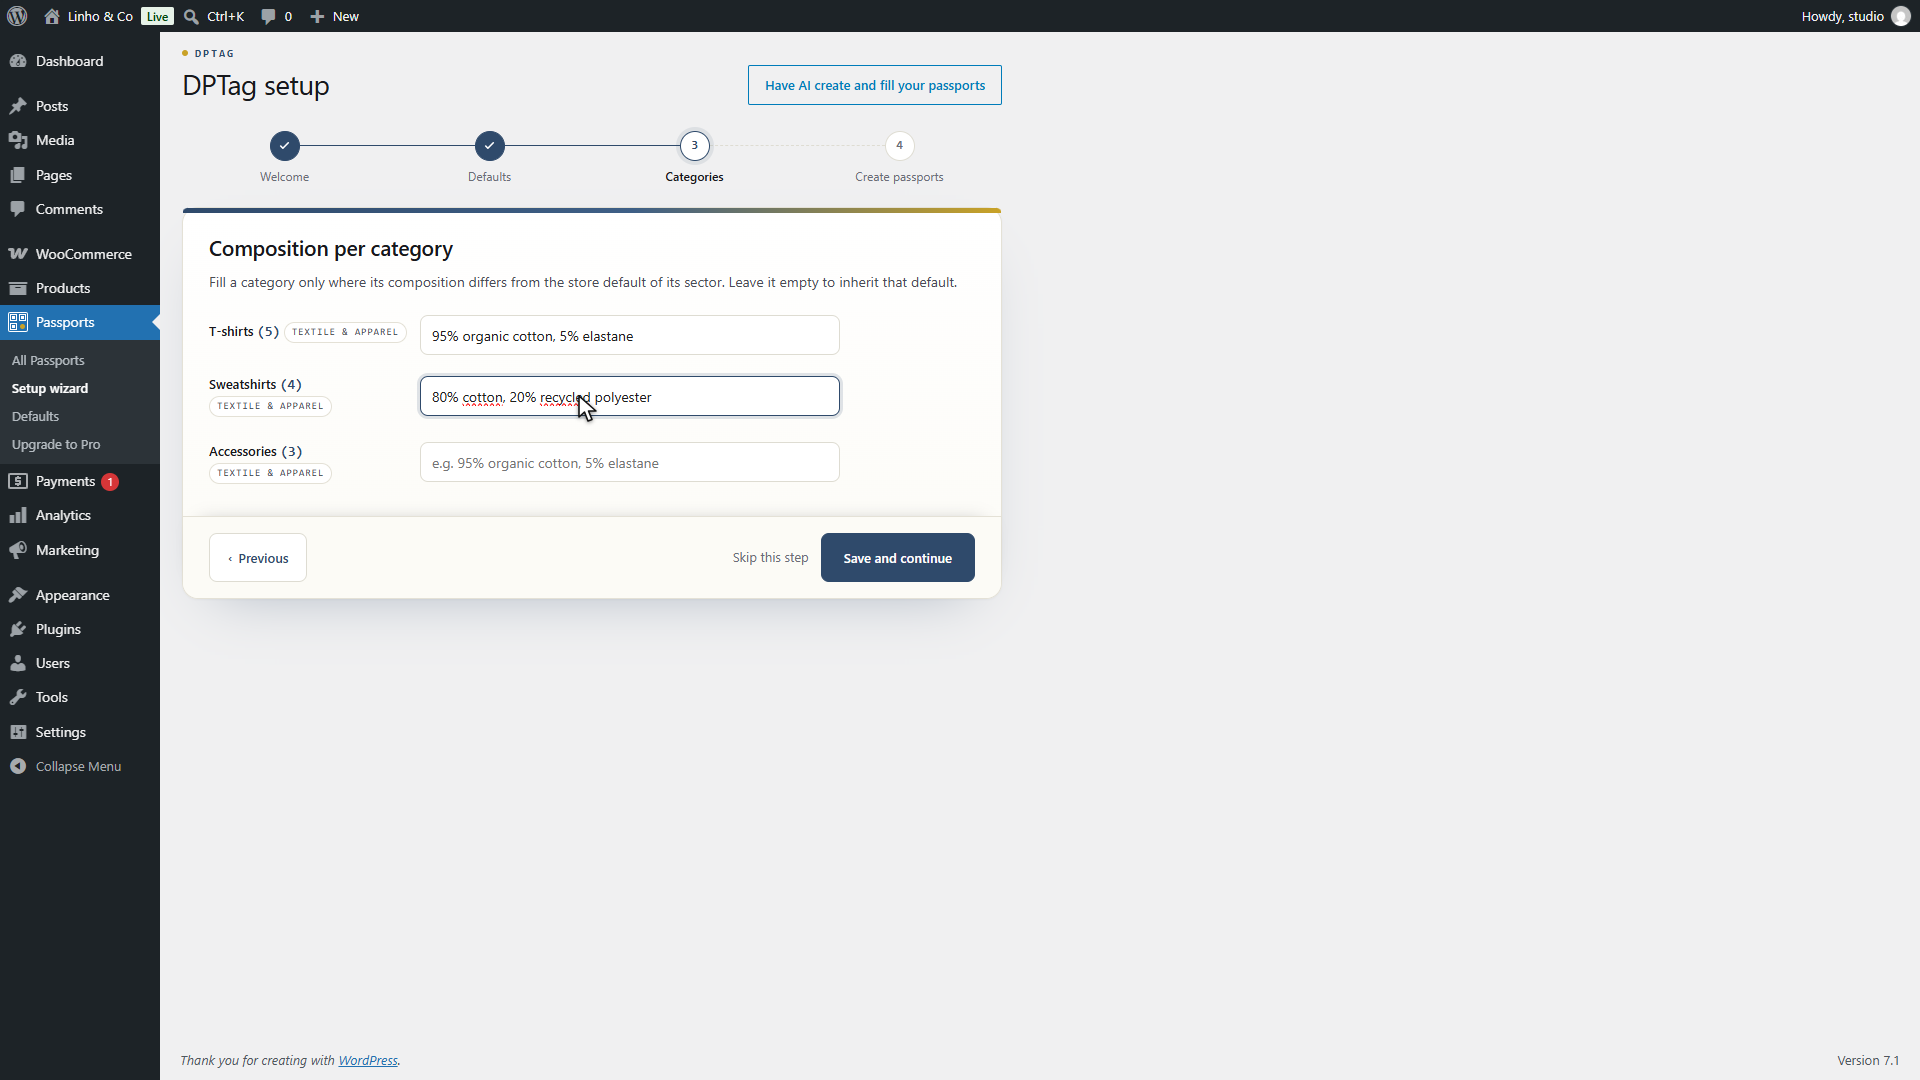
Composition usually follows the product category more than the whole store: one fibre mix for the T-shirts, another for the sweatshirts. This step shows one field per category, with the store default of the category's sector as a placeholder, so each row says what it inherits. Fill a row only where the composition differs; leave it empty to inherit.
Type it as printed on a label, "95% organic cotton, 5% elastane". The percentages are read from the text, in either order and in English or French. The wizard does not check the total here; the passport editor does, with a live total that must reach 100%.
The step shows your twelve largest categories by product count. With more categories, the others inherit the store default, and a hint gives the count. Each category is attributed to the sector of most of its products, so a furniture category inside a mostly textile catalogue gets furniture materials.
Save and continue writes the composition on the categories themselves. This is the only screen where it is edited: WooCommerce's own category editor has no such field. Rerun the wizard to change it. With no product category at all, the step says so and can be skipped.
Step 4: create the passports
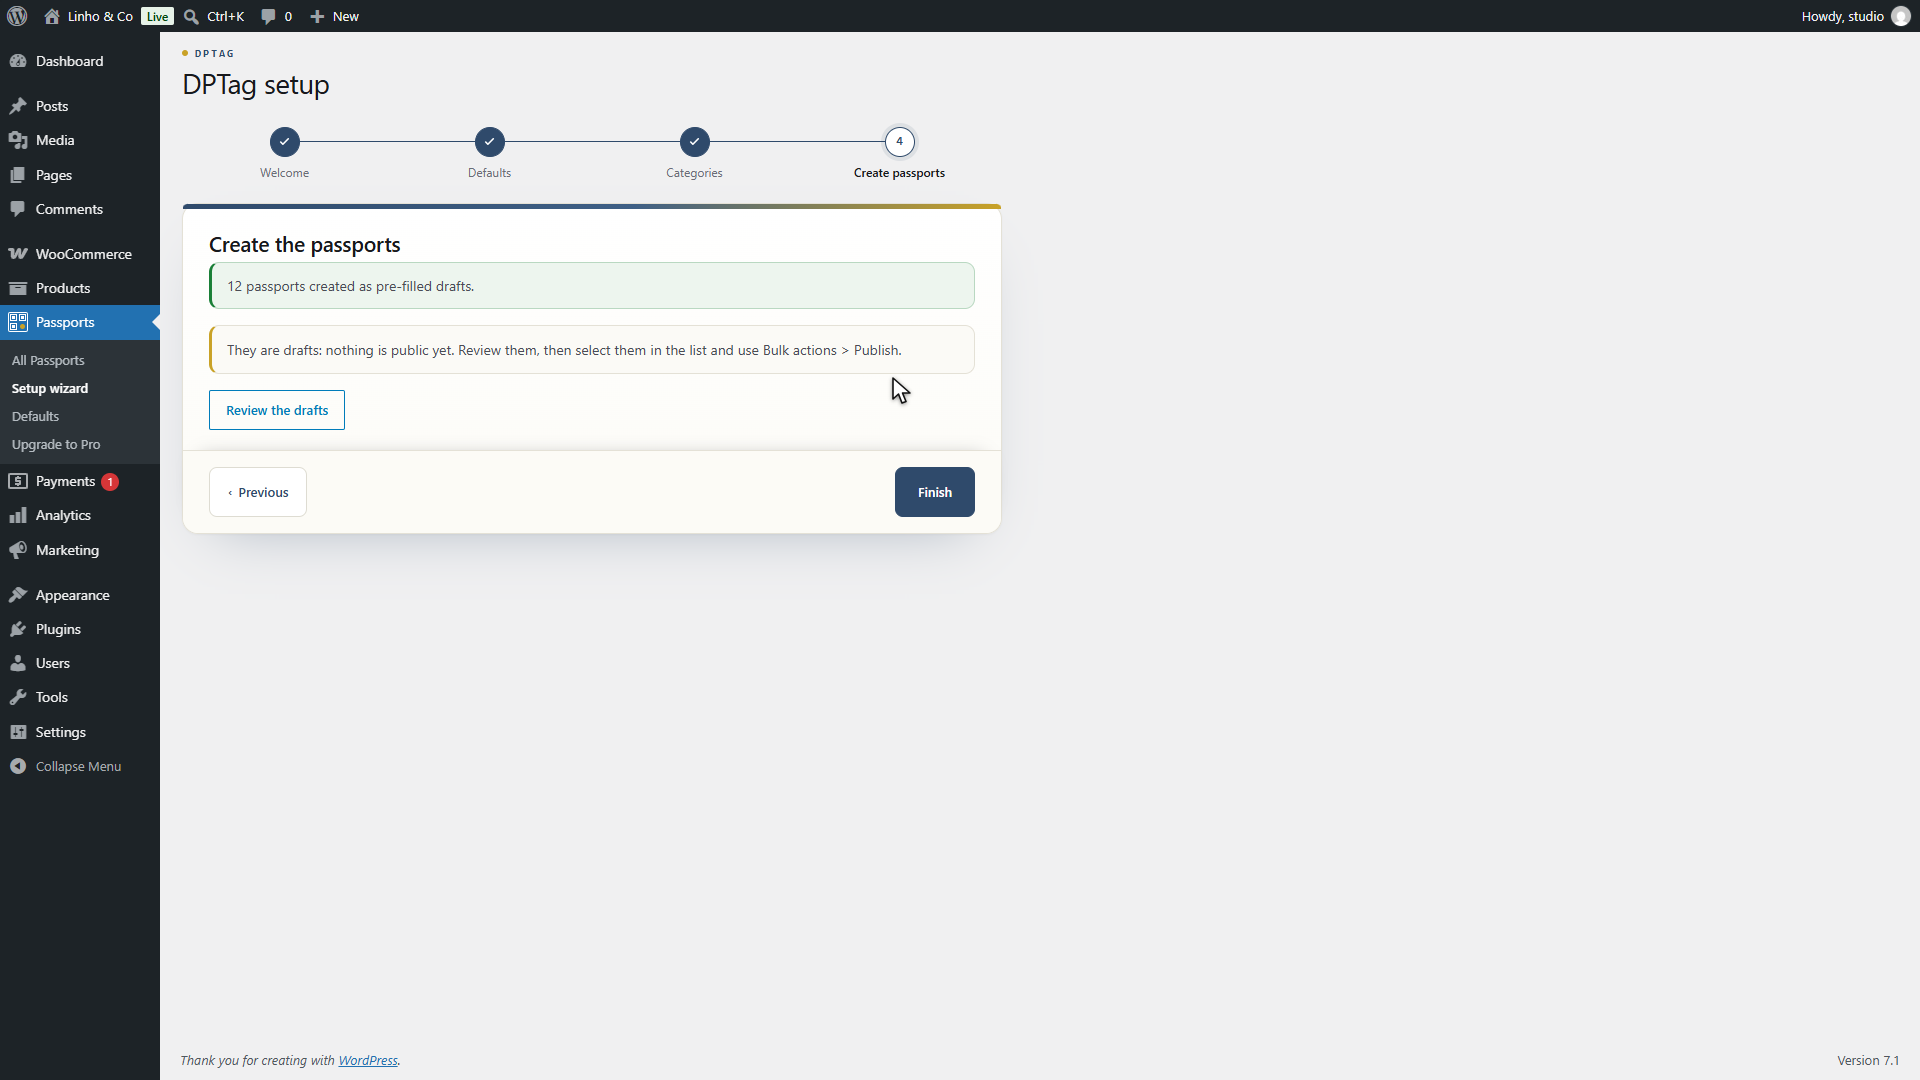
The last step counts the products that have no passport yet and offers to create them. Each new passport is pre-filled in this order of priority: the product's own attributes first (a "Composition" or "Country of origin" attribute wins over everything), then the composition of its category, then the store defaults. The sector template is detected per product.
Passports are created in batches of one hundred, so that a large catalogue never runs into the execution limit of a shared host. The button says how many it will create; click it, and click again until the count reaches zero. Each run reports how many drafts it created.
Everything is created as a draft. Nothing is public until a passport is published, one by one from its editor or several at once from the list with Bulk actions, then Publish. Review the drafts opens the list filtered on them. Finish without creating closes the wizard with the defaults saved and no passport made.
Products that already have a passport are never touched: running this step again only creates what is missing.
What the wizard writes
| Step | Written where | Later editable in |
|---|---|---|
| Store defaults | One set of values per sector, shared by the whole store | Passports, then Defaults |
| Composition per category | On each product category | The wizard, step 3 |
| Create the passports | One draft passport per product, with a permanent identifier | Each passport's editor, and the list |
Defaults are applied when a passport is created. Changing a default later affects the passports created from then on; existing passports keep the values they were born with, so a correction on one product never leaks into the others.
Running it again
Passports, then Setup wizard, reopens it at step 1 at any time. Rerunning it is safe: steps 2 and 3 show the current values and only write what you save, and step 4 only creates passports for products that have none. It is the normal way to prepare passports for a batch of new products, or to set the defaults of a second sector.
The wizard is shown to users who can manage WooCommerce, which covers shop managers and administrators.